Stop Wasting Time on Manual Data Entry
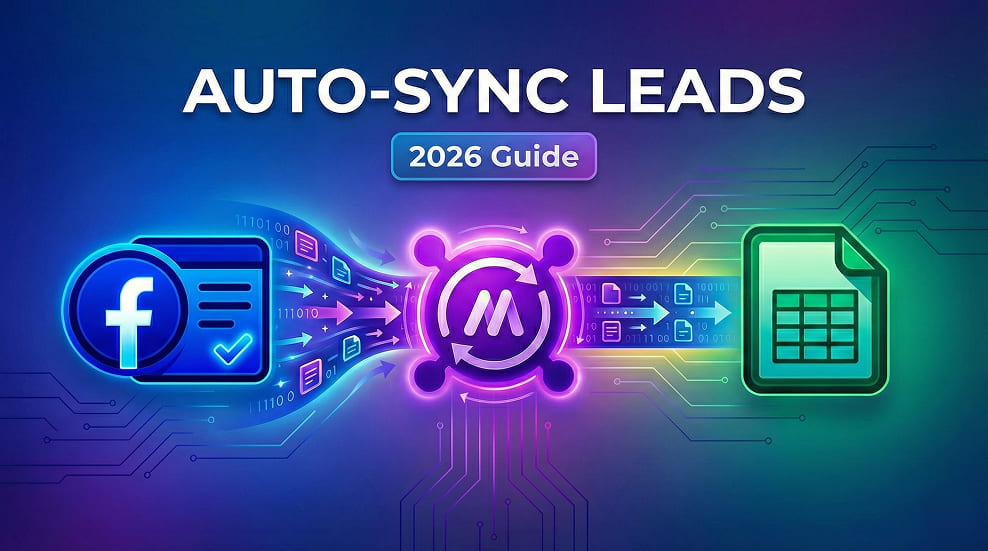
Thank you for reading this post, don't forget to subscribe!This guide shows you how to connect Facebook leads to Google Sheets in 5 simple steps.
If you are running Facebook Lead Ads, you know the struggle.
You spend money to get a lead. Facebook collects their info. And then… it sits there.
To get that lead to your sales team, you have to log into Facebook, navigate to the Ads Manager, download a CSV file, open it in Excel, and copy-paste the data into your CRM or Google Sheet.
Every minute you wait to call a new lead, your chance of closing the sale drops by 10x.
Stop doing this manually. It’s slow, boring, and costing you money.
Choosing the right automation tool for Facebook lead follow-up is critical, because not all platforms handle real-time syncing, errors, and retries reliably.
In this guide, I will show you exactly how to connect Facebook Lead Ads directly to Google Sheets automatically. When a new lead comes in, it will appear on your spreadsheet instantly, 24/7.
We will be using a powerful automation tool called Make (formerly Integromat) to build this bridge. It is easier than Zapier, and their free plan is generous enough to get started.
Ready to stop downloading CSVs forever? Let’s begin.
GET YOUR FREE MAKE ACCOUNT HEREWhat You Need Before We Start
Before we dive into the setup, make sure you have these three things ready. You cannot complete this tutorial without them.
- A Facebook Business Account: You need Admin access to the Facebook Page that is running your Lead Ads. You must be able to see the leads in Facebook itself.
- A Google Account: You need a free Google account to create the Google Sheet where your data will land.
- A Make.com Account: This is the “glue” that connects Facebook to Google. Click here to create your free Make account if you haven’t already. (It only takes a minute).
Got everything? Great. Let’s build the first piece of the puzzle.
Step 1: First, create a new Google Sheet.
We need to build the “destination” first.
Before you touch any automation tools, you need to set up the spreadsheet where your leads will land.
- Go to Google Sheets and create a brand new, blank spreadsheet.
- Give it a clear title, like “Facebook Leads 2026”.
- In the first row (Row 1), create headers for the data you want to collect. The automation will need these headers to know which column to put the data into.
I recommend creating these four basic columns in Row 1:
| A | B | C | D |
| Date Created | Full Name | Email Address | Phone Number |
(Do not add any dummy data in Row 2 yet. Keep it empty.)
Once your sheet looks like that, you are ready to start automating.
Step 2: Create a New Scenario in Make
Now, log in to your Make.com account. (If you didn’t create one yet, grab a free account here).
In Make, an automation workflow is called a “Scenario.” We need to create a new blank one.
- On your Make dashboard, look at the left-hand menu and click “Scenarios.”
- On the top right corner of the page, Next, click the big purple button to create a new scenario.
You will now see a big blank canvas with a large purple circle in the middle that says “+”.
This is where we will build the automation bridge.
Step 3: Connect Facebook Leads to Google Sheets (The Trigger)
Every automation starts with a Trigger—the event that tells the scenario to wake up and run. Our trigger is when a new lead submits a form on Facebook.
- Click the big purple “+” circle in the middle of your canvas.
- A search box will appear. Type in “Facebook Lead Ads” and click on the icon when it appears.
- A list of actions will pop up. You want to select the very first one called “New Lead (instant).

Now, a configuration box will open up. You need to tell Make which Facebook account to look at.
- Under Connection, click the “Add” button. Give the connection a name (e.g., “My FB Account”) and click Save. A pop-up window will appear asking you to log in to Facebook and grant permissions. You must accept all permissions for this to work.
- Once connected, look at the Page field. Therefore, you need to select your specific Facebook Page from the list where you are running your ads.
- Under Form, select the specific lead form you want to track. (If you want to track all forms on that page, you can usually leave this blank or select “All,” depending on your setup).
- Click the blue “OK” button.
You will now see a Facebook icon on your canvas. This part is done.
Step 4: Connect Google Sheets Action
Now we need to tell the automation what to do with the lead data it just caught. We want it to add a new row to our Google Sheet.

- Hover your mouse over the right side of the Facebook module you just created. You will see a small “ear” or semi-circle appear. Click it to add the next step.
- A new search box appears. Type “Google Sheets” and click the icon.
- From the list of actions, choose “Add a Row.”
A new configuration box will open for Google Sheets.
First, connect your account:
- Under Connection, click “Add” and sign in to the Google account where you created your spreadsheet. Grant the necessary permissions.

")
Next, select your spreadsheet:
- Look for the Spreadsheet ID field. Click the dropdown menu and find the sheet you created in Step 1 (e.g., “Facebook Leads 2026”).
- Under Sheet Name, select “Sheet1” (or whatever you named the tab).
Finally, map the data fields: This is the most important part. You will now see the column headers you created in Step 1 (Date Created, Full Name, etc.) appear as fields.
When you click into one of these fields, a box will pop up showing data blocks available from the Facebook module. You need to drag the correct block into the correct field. For example, match the ‘Name’ column to the ‘Full Name’ field from Facebook.

- Column A (Date Created): Click the field, find the “Created time” block from the Facebook list, and drop it in.
- Column B (Full Name): Find the “Full name” block and drop it in.
- Column C (Email Address): Find the “Email” block and drop it in.
- Column D (Phone Number): Find the “Phone number” block and drop it in.
When you are done mapping, click the blue “OK” button. Your two modules should now be connected by a line.
Step 5: Test the Automation (Crucial Step)
You never want to activate an automation without testing it first.
1. Run the Test Look at the bottom left corner of your Make scenario canvas. You will see a big purple button that says “Run once.” Click it.
The scenario will now wait for a new lead.
- Note: If you don’t have a live ad running right now, you can use Facebook’s “Lead Ads Testing Tool” (search for it on Google) to send a fake test lead.
2. Check the Results Once a lead is submitted, watch the scenario. You should see the bubbles turn green, and little numbers appear above them indicating data passed through.
Now, open your Google Sheet.
Did a new row just appear with the lead data?
- YES: Congratulations! You have successfully managed to connect Facebook leads to Google Sheets.
- NO: Go back to Make and click the bubbles to see if there are any red error messages. Double-check your field mapping in Step 4.
3. Turn It On Once you have confirmed it works, look at the bottom left corner of the Make screen again. You will see an “ON/OFF” switch.
Flip it to “ON”.
Your automation is now live and running 24/7. You can close the tab and walk away.
Conclusion: What To Automate Next
Finally, you have successfully automated your lead flow.
You just saved yourself dozens of hours of boring manual work this year. No more downloading CSVs, and no more letting cold leads sit unattended.
But learning how to connect Facebook leads to Google Sheets is just the beginning of what you can do with Make.
This tutorial is part of our Lead Automation series, where we break down practical workflows to capture, route, and act on leads automatically.
Once you get comfortable with it, you can start building more powerful workflows:
- Send an instant email or SMS to the new lead as soon as their data hits the sheet.
- Add the lead automatically to your CRM (like HubSpot, Salesforce, or Pipedrive).
- Send a Slack notification to your sales team so they can call immediately.
Automation isn’t just about saving time; it’s about responding faster and closing more deals.
Now that you have your first scenario running, what boring task are you going to automate next?